How to Integrate your Amazon Seller Account with Shiprocket?
Are you selling on Amazon? Are high shipping costs troubling you? Worry no more! Now you can integrate your Amazon channel with Shiprocket and deliver your products at the lowest shipping costs.
Amazon is one of the prime channels in the market that you can use to sell your products. It is an excellent choice for selling on a marketplace for a variety of reasons such as its well-established reputation, its large customer base and high ranking pages on search engines.
However, selling on a marketplace has its pros and cons. You will be required to pay a selling fee and deal with other costs involved in the process. And especially when it comes to shipping your products, prices are quite high at a marketplace’s end. Furthermore, if you are selling and shipping your products via a marketplace, you also remain deprived of the quality and branding experience that you can provide through shipping otherwise.
Amazon is an excellent selling channel, but when it comes to hassle-free shipping and other benefits, sellers must look for a low-cost shipping solution that also maximizes their profits. Here is why you must sell on Amazon and ship via Shiprocket-
- Lowest shipping costs across all platforms
- Amazon Marketplace integration
- Flexibility to ship via multiple courier partners
- Best rated couriers at your disposal
- Efficient delivery and maximum reach
- Return order prediction
- ML-based algorithm that assigns you the top courier partner based on your shipping priority
So, if you’ve made up your mind to maximize your selling profits, you can integrate your Amazon channel with Shiprocket. Amazon’s integration with Shiprocket lets you automatically sync:
- Orders
- Order statuses
- Amazon catalog and inventory
- Payment status
Also, you can provide your buyers with a tracking page that contains marketing panners, order details, your company’s logo, etc.
Here’s a step by step process to integrate your Amazon account with Shiprocket-
STEP A: Generate an MWS authentication Token in your Amazon Seller Account
1.Log in to your Amazon Seller panel.

2. Go to the ‘Permissions’ tab in your Amazon seller account and then locate and click on ‘Third-Party Developer and Apps’.
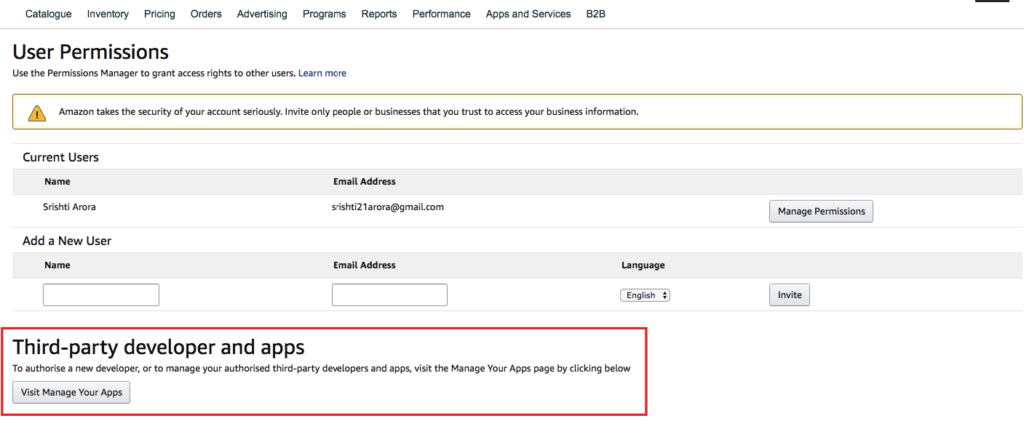
3. Click on the ‘Visit Manage your Apps’ button on this page.
4. A new screen will open. You can either click on the ‘Authorize a new Developer’ to generate a new token or ‘View MWS Auth token‘ to view your existing token. As you will be integrating your Amazon seller account for the first time with Shiprocket, click on ‘Authorize a new Developer’.

5. As you click on ‘Authorize a new Developer’, you will be asked to enter the Developer’s name and Developer’s Id on the page. This step is crucial in generating the MWS Auth Token. Make sure that you enter the following developer credentials for generating the MWS Auth token:-
- Developer’s Name: KartRocket
- Developer Account Number: 1469-7463-9584
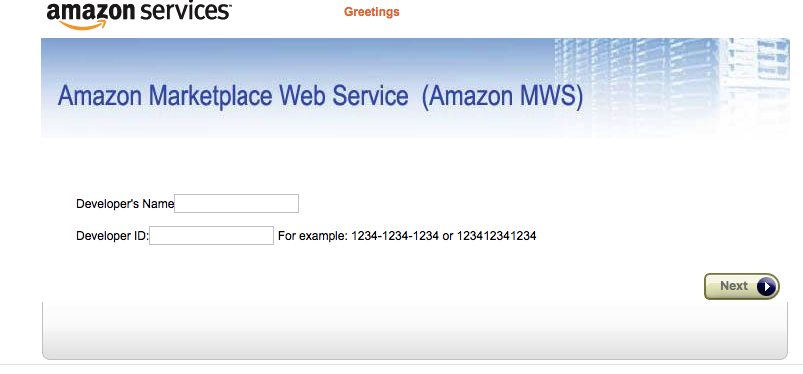
6. Click on the ‘Next’ button at the bottom right corner of the screen.
7. A new screen with Amazon’s MWS Agreement License will open. Mark all the checkboxes and then click on Next.
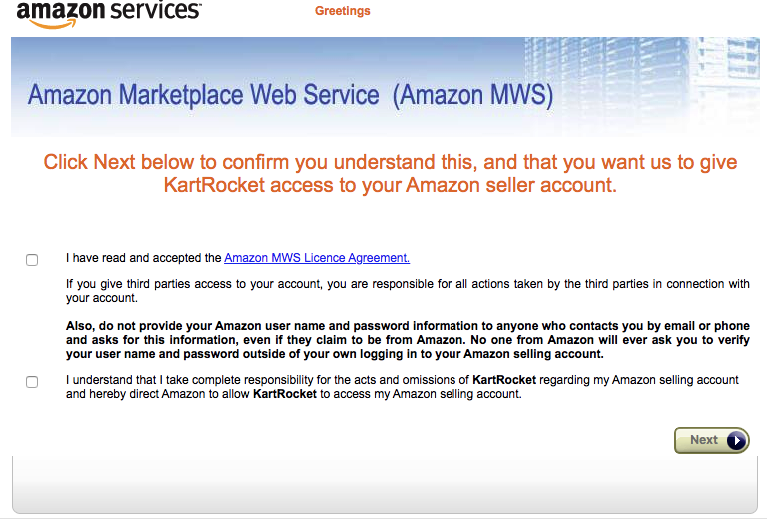
8. Now the Merchant ID and MWS Auth Token will be generated and displayed on your screen. Copy the credentials and keep it safe. You will need it when you edit the details of Amazon as a channel in your Shiprocket panel.
STEP B: Enter the MWS Auth Token and Integrate your channel in Shiprocket
1. Register at app.shiprocket.in
2. Login to your Shiprocket panel
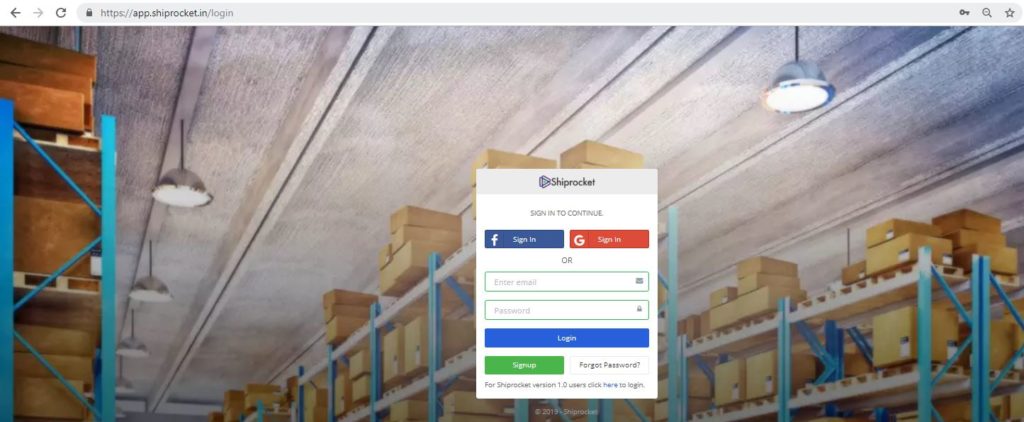
3. Go to → Channels in the left panel
4. A new channel screen will open. Click on the ‘Add New Channel’ button present at the top right corner of the screen.

5. You will find a list of all the channels that can be integrated with Shiprocket. Select Amazon from this screen and click on ‘Integrate’.
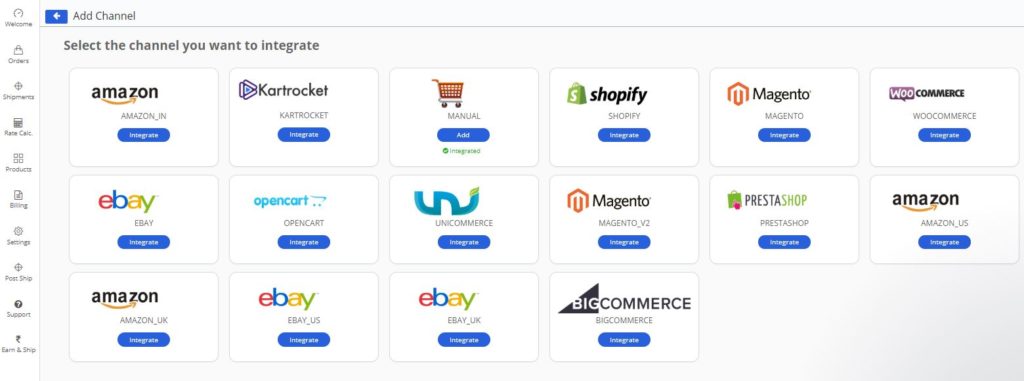
6. Now, you will be required to enter some information on the next screen. Paste the MWS Auth Token Merchant ID in the respective fields on this page.
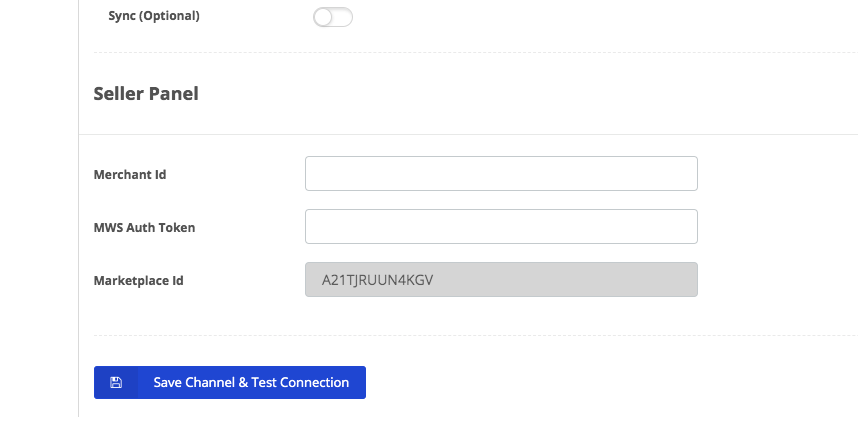
7. Turn the following toggle on as per your requirements catalog sync
Pull Order Statuses: Turning this on, will help Shiprocket automatically fetch the default orders statuses from Amazon to your Shiprocket panel.
b) Catalog Sync: By turning this on, Shiprocket will automatically fetch your channel catalog along with weight and dimensions. It will also fetch products created/updated on your channel daily.
c) Inventory Sync: You can also turn on the Inventory toggle so that your Amazon inventory gets synched with Shiprocket regularly.
8. Once you’ve selected all the desired options on this page, click on ‘Save Channel and test Connection’.
9. You will find a green icon indicating that the channel has been successfully configured and integrated.
Congrats!
Now that you have integrated Amazon with your Shiprocket account, you can readily create your orders and ship them using the lowest cost courier partners. You can also get insights into your shipping performance in the panel that will help you understand and grow your business. To know more about creating your order, you can also refer to our help document.


