Beginner’s Guide to Setting Up Your Shopify Store
When you begin to look online for an eCommerce website building software, there are high chances that you will come across Shopify.

As a subscription-based platform, Shopify lets you build an eCommerce website. They have several designs, apps, themes, etc. to get you started with your website, like a pro!
Shopify & Shiprocket are working continuously to make it uncomplicated for businesses post the COVID-19 slowdown.
Shopify has curated a piece of detailed information about how to start an online business in India post COVID-19: The complete back-to-business guide. Find it here
Without much ado, let’s dive in the right into the process and see how you can set up your Shopify store with these simple steps –
Step 1
Head to Shopify’s official website. Once you’re there, click on the free trial option-

Step 2
In the next step, enter your business details like email address, password, and store name.
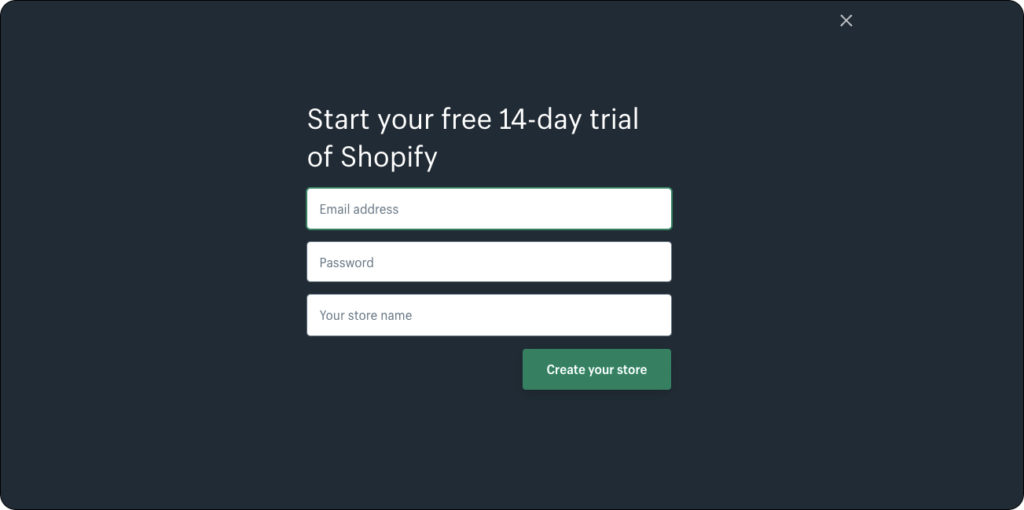
Step 3
Next, add a few basic details about your business like so. Filling these details is not mandatory, you can skip them if you like.

Step 4
After giving a brief insight into your business, add your business address. This is essential for correct communication and payment regarding your store.
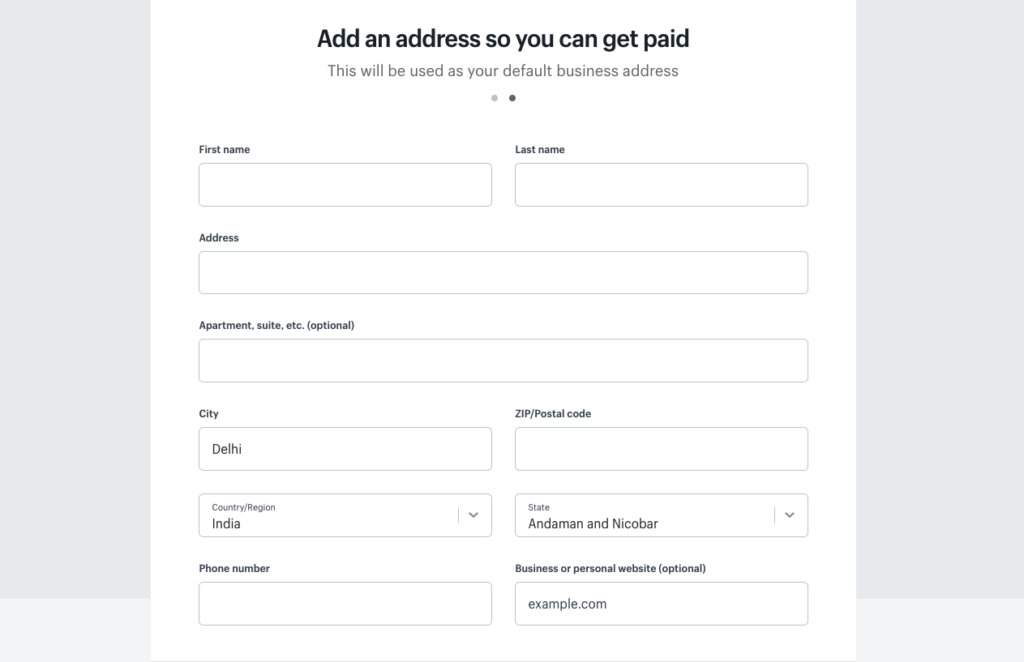
Step 5
Following this, you will be redirected to your store’s dashboard.

On the left, you can see various options like orders, products, customers, analytics, marketing, etc.
On the bottom, you can select a plan as you would signup on their free trial.
Step 6
To add your products, go to the ‘orders’ panel and either import your orders or add them manually.
i) Import your orders
Click on the import button and upload a .csv file containing a list of all your products.
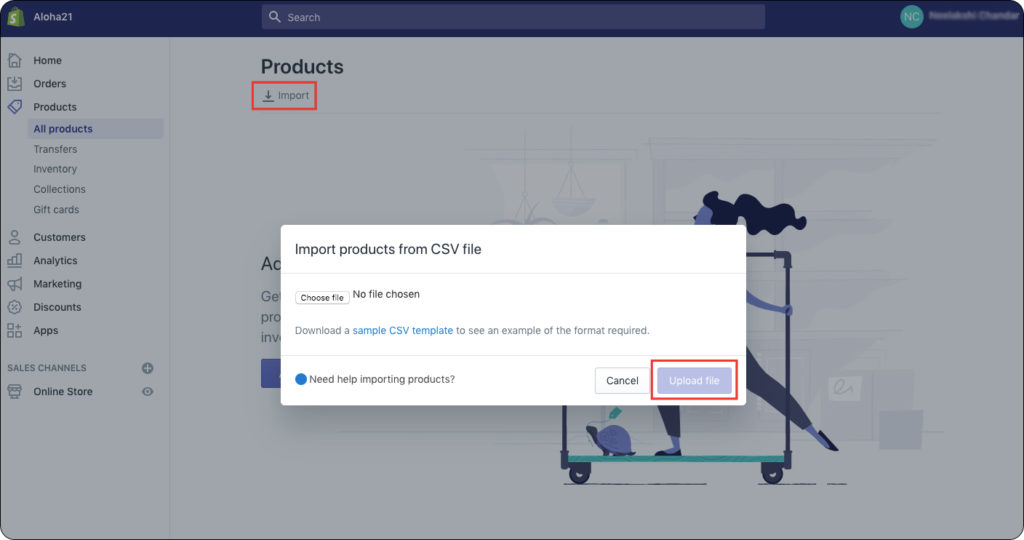
ii) Add products manually
Click on the ‘Add Products’ button
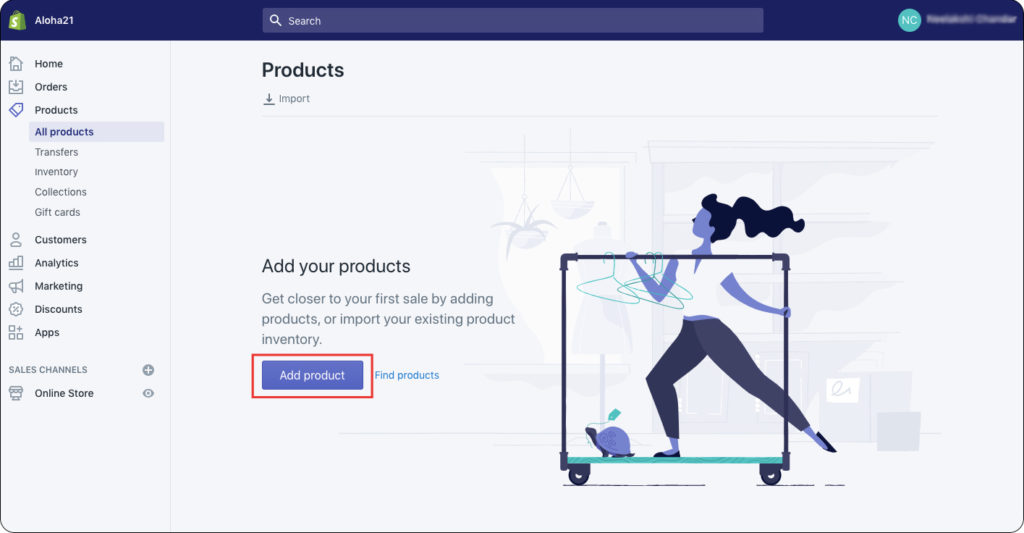
Fill in order details manually
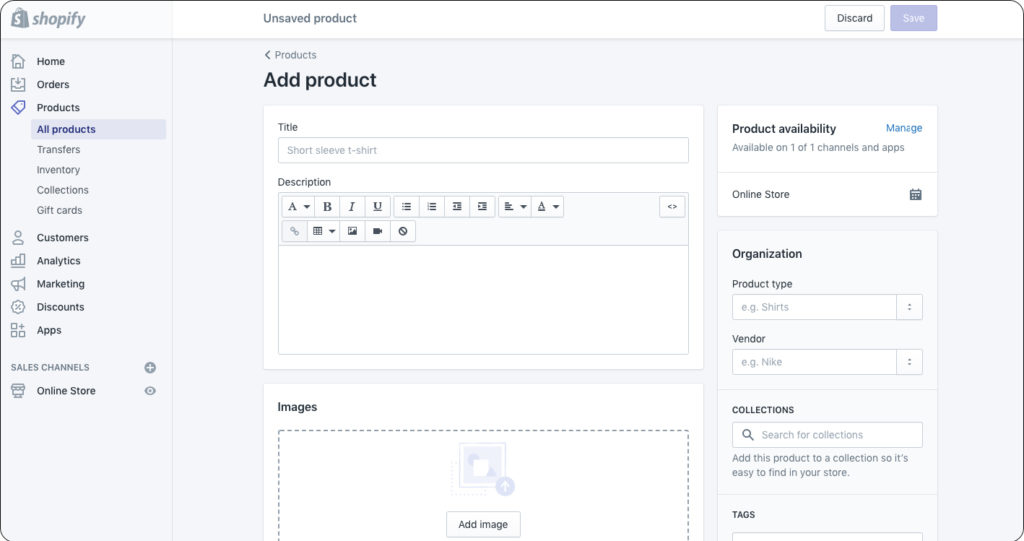
Here, you can fill in all the details starting from the pricing, SKU, shipping details, etc.
Step 7
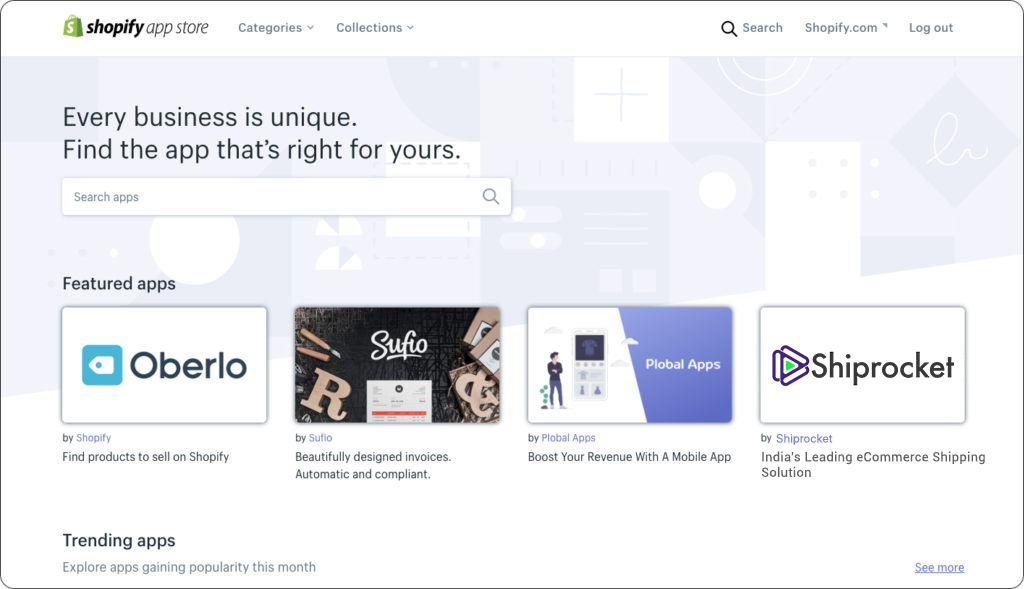
Next, to add apps to your store, go to the ‘Apps’ section and add go to the Shopify app store and download various apps for your stores such as marketing apps and shipping apps like Shiprocket.

This is what the Shopify App Store would look like –
Step 8
To personalize your eCommerce store, click on the ‘online store’ option in the left bar. First, click on themes.
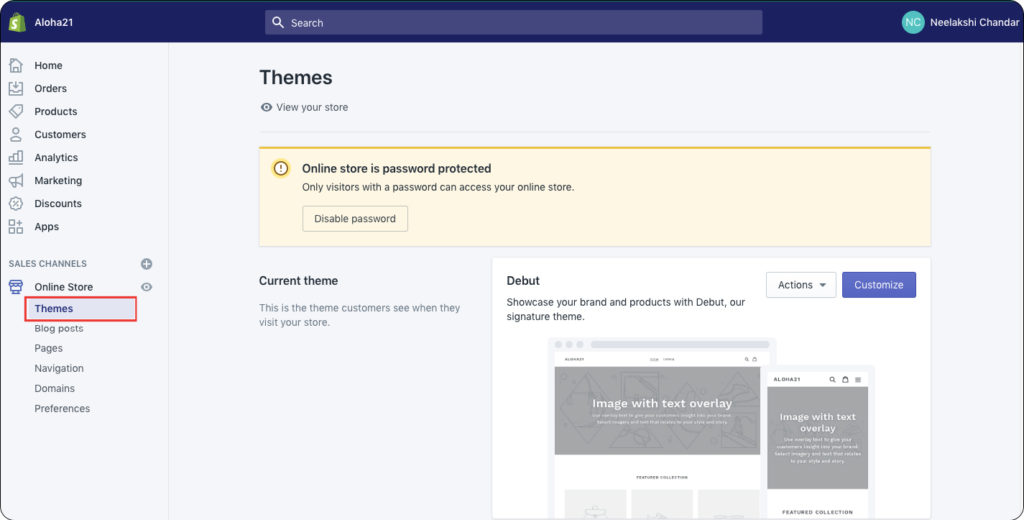
Next, select from several free themes and customize your store. You can also upload themes

Step 9
Add pages to your website by clicking on the ‘Pages’ section in the online store in the left bar. Next, click on ‘Add Pages’ and complete all page details

Similarly, to add or edit other aspects like your domain, header, and footer menu, go to the online store.
Finally, to view your Shopify store, click on the ‘eye’ icon in the left bar to view you at the frontend of the store.

Step 10
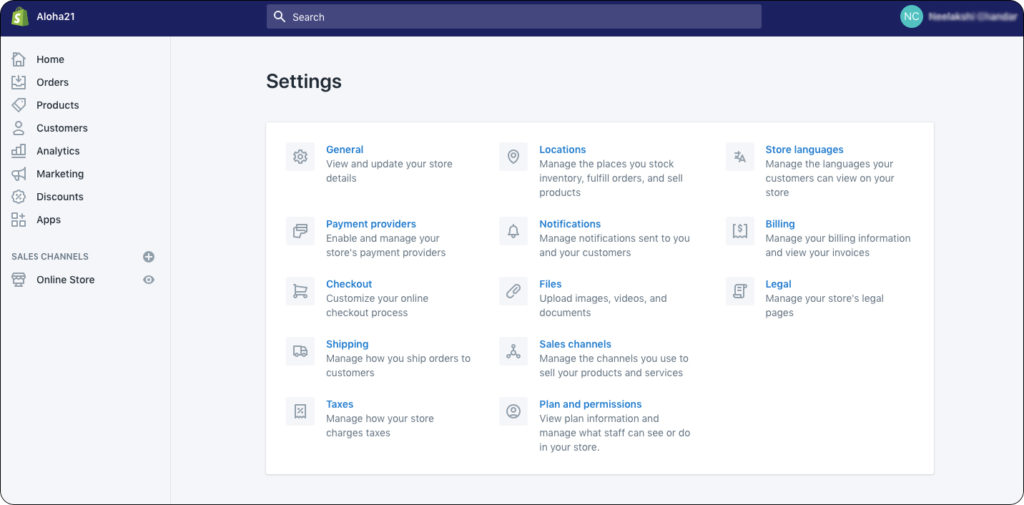
Next, go to Shopify store settings and manage details like shipping, payment procedures, etc. Once all these are sorted, you should be able to make your store live and begin selling.
Read More – 25 Best Marketing Apps for Your Shopify Store in 2019
Shopify Plans
Shopify has various plans that can suit your business. You can choose from their 3 plans –

The Basic Shopify plan is suitable for small businesses that do not have a large number of orders. The other two plans are ideal for medium to large enterprises.
Conclusion
Shopify is a popular platform for setting up your eCommerce store. It has over 2400 apps, and various pricing plans to suit your business. If you’re looking to start your eCommerce store, Shopify is a great option. Their themes are elaborate, and you also get various options when it comes to marketing and shipping. Also, Shopify has excellent accessibility and is very easy to set up. Follow these steps to set up your store and begin selling efficiently quickly.


