- What are the Different Types of Amazon Business Models?
- How to start selling on Amazon?
- Step 1: Create a Business Plan
- Step 2: Find your Niche
- Step 3: Start Market Research
- Step 4: Sourcing the Product
- Step 5: Place Orders
- Step 6: Open an Amazon Seller Account
- Step 7: Create Product Listing
- Step 8: Manage your Inventory
- Step 9: Launch your Product
- Step 10: Follow up Customer Reviews
- Step 11: Optimise Product Listings
- Step 12: Drive Traffic to your Amazon Products
- Things to Consider Before Selling on Amazon
- Streamline Your Shipping Process with Shiprocket: Elevating Your eCommerce Shipping Experience!
- Final Thoughts
Amazon is a popular marketplace for vendors and buyers. It has launched its FBA service to meet the growing demands of vendors. FBA stands for “Fulfillment by Amazon,” which means Amazon will store your products in its inventory, fulfill your orders, and provide customer assistance. It is the most popular platform for retailers.
You’ll have access to customer support 24/7, just like your buyers. Amazon’s FBA programme frees you from inventory management, packing, and shipping tasks, allowing you to focus on growing your business.
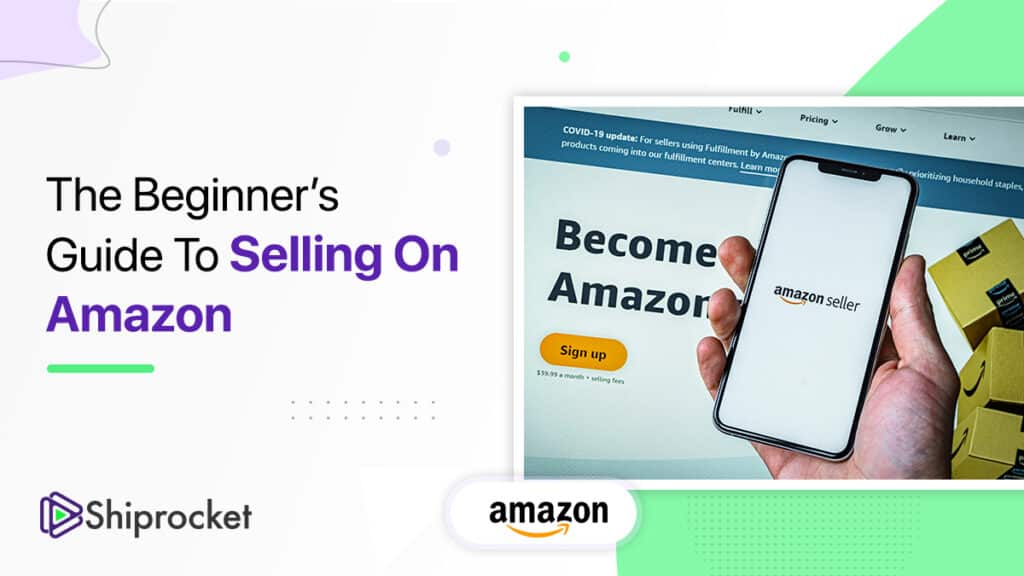
If you aim to become a successful Amazon FBA seller, you’re in the right place. This beginner’s guide to selling on Amazon breaks down the entire process into 12 simple steps.
What are the Different Types of Amazon Business Models?
Before starting your journey as a seller on Amazon, you need to choose the type of business you can operate. These are the different Amazon business models that you can explore to find the right fit for your eCommerce store:
- Retail Arbitrage: This involves finding discounted items in local stores and reselling them online for profit. It offers low entry barriers but requires frequent store visits. Scalability may be limited due to fluctuating availability.
- Online Arbitrage: Similar to retail arbitrage, online arbitrage involves sourcing discounted products online. It offers convenience, but sellers must consider shipping costs and online competition.
- Wholesale: Wholesale entails purchasing bulk inventory directly from manufacturers. It offers high-profit potential but requires a significant upfront investment and faces competition from other wholesalers.
- Private Label: This involves branding products from manufacturers as your own. It offers brand control but requires branding expertise and investment in inventory.
- Dropshipping: This allows selling without inventory. It requires minimal investment but has limited control over product quality and shipping times.
- Handmade: This involves creating unique products. It offers creativity but requires specialised skills and may have limited scalability.
How to start selling on Amazon?
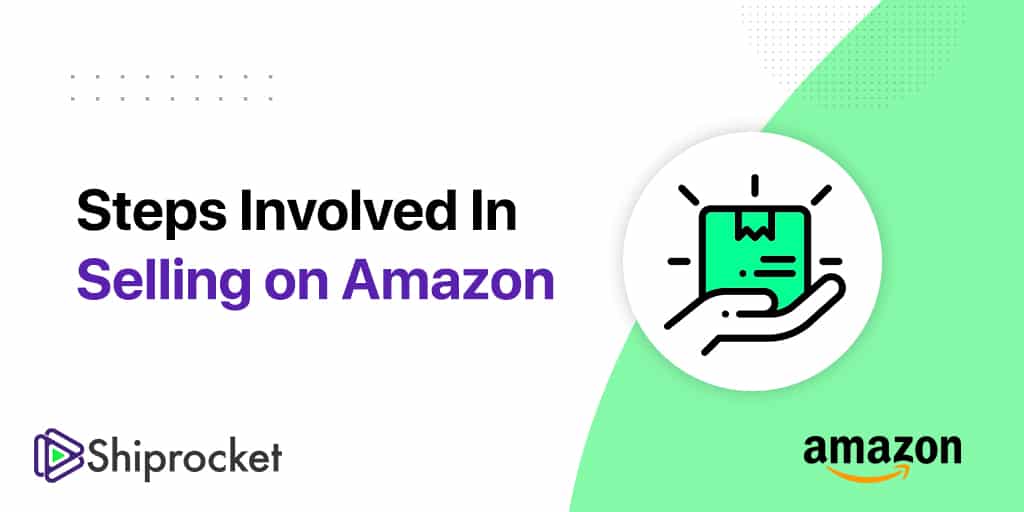
Here are the steps you need to follow to start selling on Amazon:
Step 1: Create a Business Plan
To provide clarity in decision-making processes and to give a roadmap for action, a well-defined strategy is essential when launching an Amazon FBA firm. This strategy should include important details about your firm, the industry, the items you intend to offer, how you’ll market them, and the amount of funding you’ll need. It needs to cover the type of business you run, the state of the industry, the products you choose, your promotional plans, and your financial needs.
To establish an Amazon business, you’ll need a strategy to keep everything on track:
- Begin by assessing the market to understand consumer preferences and trends.
- Determine which products you wish to sell and devise a plan for sourcing them.
- Develop strategies for promoting your products and estimate the associated costs.
- Create a schedule for your business activities and list down all necessary tasks. This will aid in maintaining organisation and focus.
Step 2: Find your Niche
Finding a successful specialisation on Amazon FBA is critical to your success. To run a lucrative business, you must conduct market research and identify relevant, trendy, and competitive products that correspond with your passion and hobbies.
Here’s how you can find your niche:
- To ensure Amazon’s profitability, it should focus on products with good profit margins by factoring in all associated costs like shipping, advertising, and FBA fees.
- Assess online competition to find niches with less saturation and prioritise products in high demand year-round.
- Utilise tools like the Amazon Niche Finder.
- Conduct keyword research to identify profitable niche markets and trending products. Long-tail keywords are beneficial for pinpointing niche opportunities and optimising product listings for better visibility and ranking on Amazon.
When examining a product trend, consider its emotional impact, practical value, visibility, and recognition. To enhance its market appeal, pinpoint its unique selling point or create a fresh, trendy angle.
Step 3: Start Market Research
After you’ve decided on a niche, you’ll need to conduct market research to confirm it. Keep a running track of competitor sales over time. Following your competition will provide you with a more accurate picture of the market, niche, or segment.
Another option is to connect with several suppliers or consumers to learn about their feelings about the products; you could conduct a survey.
You can move forward with your plan once you’ve confirmed that the market’s sales data are steady.
Step 4: Sourcing the Product
Finding a reliable source for your goods is an essential next step after choosing the niche. Make sure to inquire about their full product line, as you could find more interesting service options. Focus on developing a long-term partnership with a supplier who aligns with your approach and values. To assess quality and find the best fit, ask for samples from a few different providers. Obtain quotes from 10-15 vendors to have a better understanding of standard pricing and industry norms.
Step 5: Place Orders
After you’ve decided on a supplier, you’ll need to place an order. In most cases, the initial charge should be small. You can make a modest order to test the market and obtain helpful feedback from clients. This type of testing is an excellent approach to learning about your items’ needs.
Keep in touch with your supplier frequently to avoid misunderstandings and receive product manufacturing updates. Keep the crucial specifications in black and white as much as possible, and make any adjustments as soon as possible. You should have a quality inspection in place when you place an order. Before shipping, verify the raw materials, production line operations, and finished items.
Step 6: Open an Amazon Seller Account
Establish your business by creating a Seller Central account as soon as you’ve decided which product to sell and which supplier to use. It is crucial to start an online store on Amazon. With the desktop or Amazon Seller app, you may use this account to generate product listings, keep an eye on inventory, view reports, and do much more.
For a more seamless registration procedure, make sure you have the following information on hand:
- Business name and address
- Telephone number
- Credit card or bank information
- Tax details (For LLCs, provide your EIN; otherwise, you can use your SSN)
Step 7: Create Product Listing
To add your things to the site, you must first establish product listings. This stage involves creating your product listing on Amazon Seller Central, which is essential for consumers to find and choose what to buy. There are numerous components to constructing a listing:
- Your listing should include a description of the characteristics, advantages, and value proposition of your product. Providing precise information is crucial, including material and size specifications.
- To be visible, you must use relevant keywords.
- The listing normally comprises points that emphasise features, a product description, backend keywords for visibility, and product photographs to showcase the item effectively.
- You must include clear and high-resolution photographs of the product.
- Check if your items are “Prime eligible” and take advantage of the free delivery choices available to Prime members.
You can manually list your things if you don’t have many. Make your product listing appealing by including enough information about your products.
Step 8: Manage your Inventory
FBA sellers on Amazon must pay close attention to their inventory. Maintaining proper inventory levels helps to fulfill market demand and maintain consistent sales. To prevent stockouts and maintain a seamless consumer shopping experience, keep tabs on your supplies and restock them regularly. For effective management, combine sales and inventory data using smart technology. To refill inventory and avoid supply interruptions, if you anticipate running low on stock, make necessary adjustments to your marketing strategy and place orders with your suppliers immediately.
Step 9: Launch your Product
Now that you have finished your product listing, it is time to list your goods on the Amazon Marketplace. Ensure you’ve completed all the requirements and your product is prepared for market launch
Step 10: Follow up Customer Reviews
Your business needs customer reviews on Amazon because they help build credibility with your target market. When making an actual purchase, customers frequently depend on the opinions of those who have previously bought the product. That’s why it’s so important that you inquire further about every customer’s experience. This increases trust and improves the reputation of your items on Amazon.
Step 11: Optimise Product Listings
It’s critical to often assess how your company is performing in the market if you want to increase sales performance on Amazon. To get more visitors to your page and boost sales, always work to improve your product listings.
- Prioritise keywords. Find the best terms to describe your items by doing some research, then include them in the features, descriptions, and names of your products. Your items will show up in searches on Amazon more frequently. You can use tools such as Google Keyword Planner to achieve this.
- Images are also very important. You can show up to seven photographs of your product from different angles to highlight its size, features, and design. Aim for crisp, eye-catching photos that appeal to buyers.
- Ensure you provide the most relevant information that clients seek while enumerating the characteristics of your product. Make sure to include any warranties or guarantees you provide and consider what you would like to see if you were buying.
- In the product description, use convincing language to communicate and make it simple to read to convince people to purchase your goods. Create quality product description for the listings.
Step 12: Drive Traffic to your Amazon Products
It is essential to promote your goods to increase sales and awareness. Amazon provides advertising choices such as Brands, Sponsored Products and Display Ads. Sponsored Products are great for novices. They provide exact budget control over which products to spotlight on product detail and search results pages. This aids in determining the best keywords and approaches to use to connect with your intended audience.
Things to Consider Before Selling on Amazon
Before you start selling on Amazon, it’s essential to consider about a few key things:
- Budget: Evaluate your initial investment capability for inventory. Determine your risk tolerance regarding inventory management and sales fluctuations.
- Time: Assess the hours you can commit daily to sourcing inventory, managing stock, and fulfilling orders. Consider the time needed for product research and optimization.
- Flexibility: Decide if you prefer remote work or need a physical workspace. Evaluate storage space for inventory and packaging materials.
Streamline Your Shipping Process with Shiprocket: Elevating Your eCommerce Shipping Experience!
Shiprocket makes the shipping process easier for eCommerce businesses. It provides B2B shipping, hyperlocal delivery, and domestic and international shipping options to make sure your items get to clients quickly. You can do everything through one single platform. With services like next-day and 1-2-day delivery, you can meet and exceed client expectations. Shiprocket also offers fulfillment services, keeping stock nearby to clients to facilitate prompt delivery. It provides tools for establishing trust, engages customers, optimises checkout, and retains customers to encourage return business. By providing customised processes and devoted account manager assistance, Shiprocket guarantees a seamless experience for both your clients and your company.
Final Thoughts
If you’re ready to start selling on Amazon, now is the perfect time to begin! With its large customer base, excellent infrastructure, and plenty of resources available, you can scale your business.
Starting Amazon business may be a difficult task for beginners. The above guidelines will assist you in understanding the entire business procedure. Amazon provides a fantastic platform for entrepreneurs of all levels. You can use any of these strategies to expand your eCommerce business. With determination, a clear plan, and accurate data, you can turn your business into a successful venture.
No, Amazon FBA is not free. The cost of using Amazon FBA varies depending on the plan you choose. You can select between an Individual selling plan or a Professional selling plan. To explore the pricing details and choose the right plan for you, visit the official Amazon website.
FBA is ideal for high-volume, high-margin products, while FBM suits smaller-scale or one-off items. FBA eliminates storing and shipping concerns, while FBM offers more control but requires handling logistics independently. Choose based on your product type and business preferences.
While dropshipping can be profitable for beginners, Amazon FBA is preferred for building a reputable brand with consistent profitability. FBA offers greater control over inventory, shipping, and customer experience, making it a more reliable option for long-term success in eCommerce.